July 12, 2026
How to Connect Facebook on PostStage
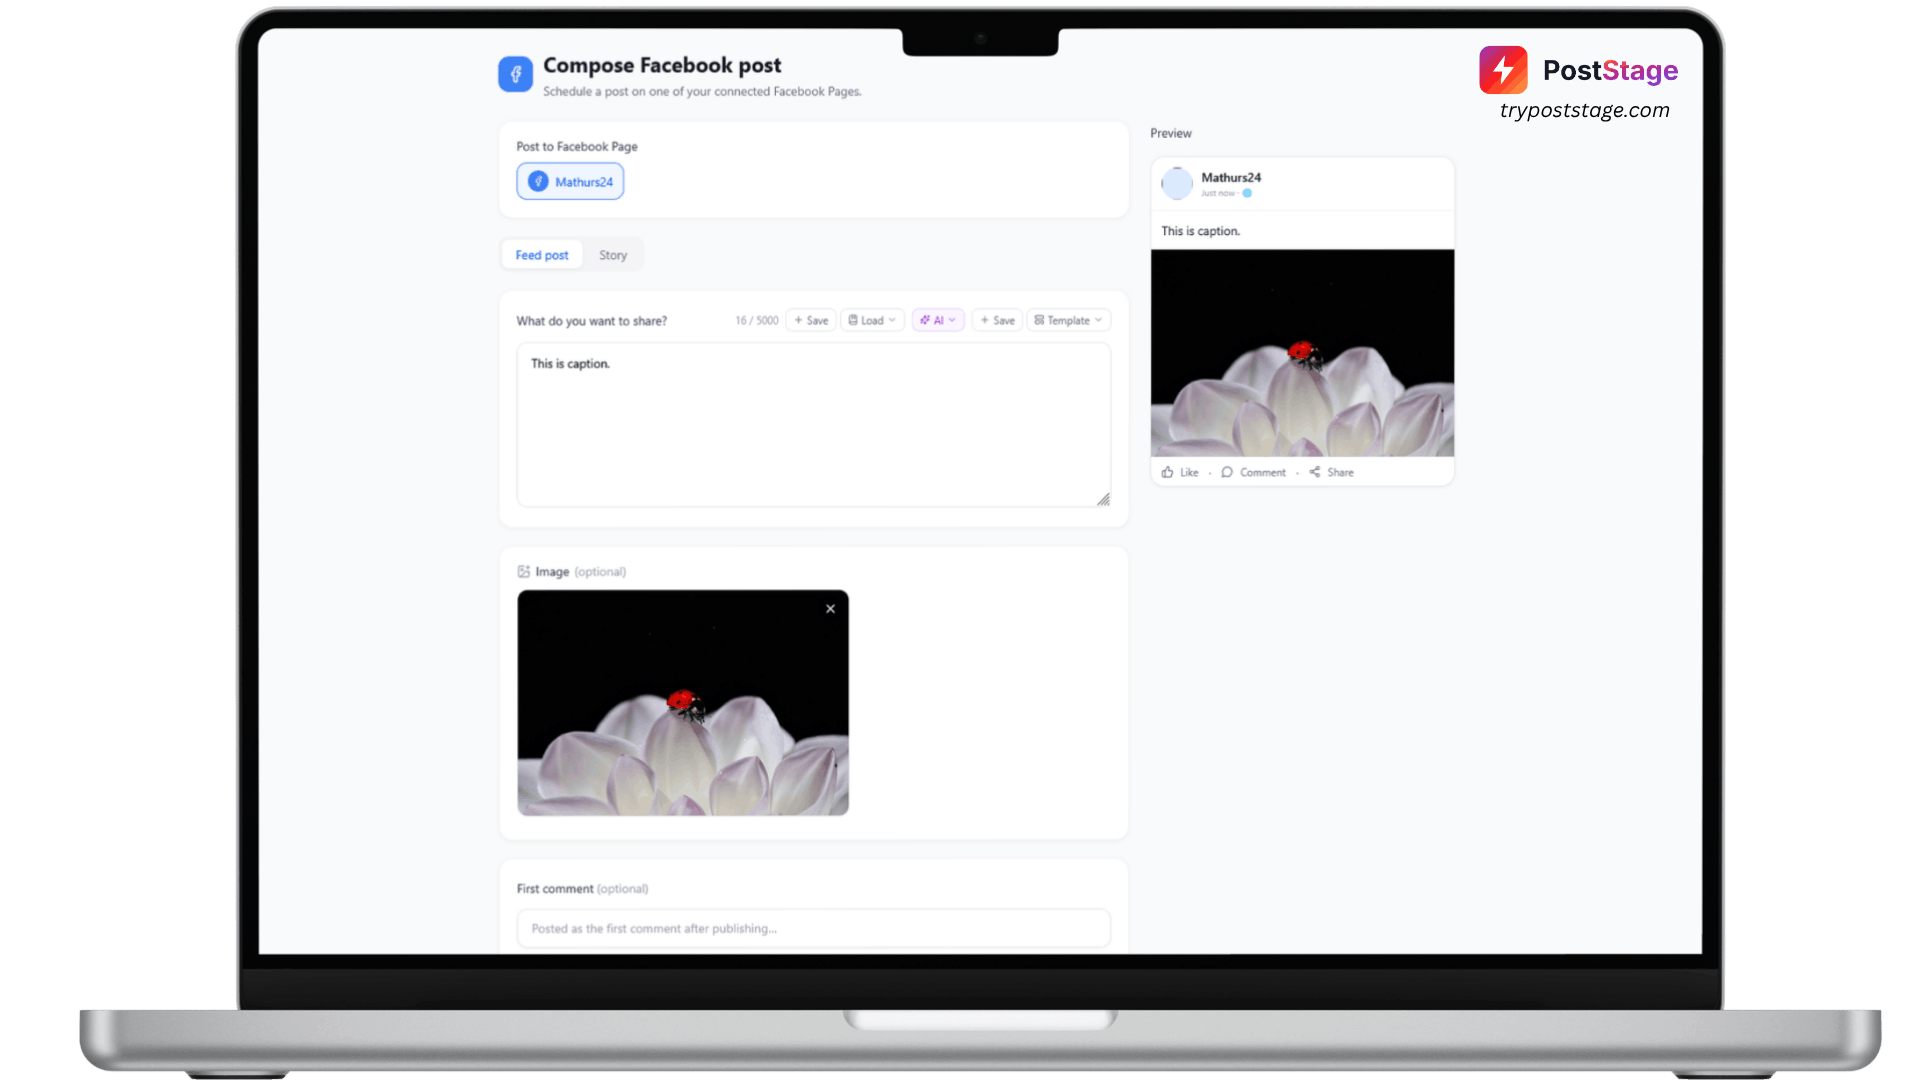
Facebook is one of the fastest platforms to connect on PostStage — as long as you catch one easy-to-miss step on Meta's own consent screen.
Before you start
PostStage publishes to Facebook Pages, not personal profiles. You'll need to already administer at least one Facebook Page. If you don't have one yet, create it at facebook.com/pages/creation first.
Step 1: Go to Accounts
In your PostStage dashboard, open Accounts from the sidebar.
Step 2: Click the Facebook tile
Click the Facebook tile in the connect-account grid.
Step 3: Approve every Page on Meta's consent screen
You'll be sent to Meta's login and permissions flow. This is the step people miss: on the "Which Pages do you allow?" screen, make sure you tick every Page you want PostStage to publish to — anything left unchecked won't connect. Then approve the requested permissions, especially "Show a list of the Pages you manage" and "Create and manage content on Pages." If your Page is managed through a Business Portfolio (Meta Business Suite), also approve "Manage business assets."
Step 4: Confirm it's connected
You'll be redirected back to PostStage. Every Page you approved connects automatically — there's no separate picker step.
Troubleshooting
"Facebook returned no Pages we can publish to" — this means either you skipped the Pages-selection step in Meta's dialog (click Connect Facebook again and tick your Pages), or your Page sits under a Business Portfolio and needs the "Manage business assets" permission too. If you genuinely don't have a Page yet, create one first.
"You declined the Pages permission during connect" — click Connect Facebook again and accept all the permissions on Meta's screen, especially the three listed above.
That's it — your Facebook Page(s) are ready to receive scheduled posts.